Much happier
I've tried more swatching using the same yarn but bigger needles (6mm), and I've got the chunky look that I was after! The first swatch, made with 4mm needles, is on the left. I've tried some k2p2 and k1p1 ribs which look great and I'll use those in the project.


Thinking about the Ravelympics
You know when you have something in your head, and when you start working on it, everything looks just as good as you'd imagined? Well this isn't one of those times.
I'm looking forward to the Ravelympics (Go, Team UK!) - it'll be great to have the motivation and encouragement to get something bigger done more quickly than my usual snail's pace. However, without the details of the events, I'm guessing at what I might do.
I have a big project in mind that might be ideal. I'm going to spin and knit a cardy/coat, based on the design of a much-loved Marks & Spencer one that's on its last legs. So I've started spinning samples and knitting swatches.

Too lazy to use the tripod, my photos of the sample skein are awful (this is the best photo by far), but I *am* very pleased with the yarn. It's corriedale undyed, medium colour.
I thought it was about the right 'chunkiness' but the first swatch is nowhere near as chunky as I'd had in mind. It's about 12 wpi, which is the same as that which I made for my recent mitts, and they feel very chunky. Maybe it's because they are a ribbed pattern.
I'll try another with bigger needles (these are 4mm), try some ribbing and failing that I'll try spinning a bit chunkier.

I'm looking forward to the Ravelympics (Go, Team UK!) - it'll be great to have the motivation and encouragement to get something bigger done more quickly than my usual snail's pace. However, without the details of the events, I'm guessing at what I might do.
I have a big project in mind that might be ideal. I'm going to spin and knit a cardy/coat, based on the design of a much-loved Marks & Spencer one that's on its last legs. So I've started spinning samples and knitting swatches.

Too lazy to use the tripod, my photos of the sample skein are awful (this is the best photo by far), but I *am* very pleased with the yarn. It's corriedale undyed, medium colour.
I thought it was about the right 'chunkiness' but the first swatch is nowhere near as chunky as I'd had in mind. It's about 12 wpi, which is the same as that which I made for my recent mitts, and they feel very chunky. Maybe it's because they are a ribbed pattern.
I'll try another with bigger needles (these are 4mm), try some ribbing and failing that I'll try spinning a bit chunkier.

How does brown wax polish finish a new spinning wheel?
Personally, I really like the light colour of a brand new wheel straight out of the box.
I've seen wheels that have been finished with a dark stain, a coloured varnish or teak oil. All look good, but a good shine with clear wax does it for me.
Over time the wood darkens anyway. After even a few months, the wood is noticeably darker.
Some wax polish contains dyes which puts a little warmth and colour into your new wood. So how does it work on the natural wood of a new wheel?
To find out, this is brown Antiquax on a new Traveller wheel.

I like to use a brush to apply the wax (whether it's clear or brown). I think it might be more economical because the brush absorbs less than a cloth does. It's also easy to get into the crevices.
The first thing I notice is that it's much easier to see where you've been than with clear wax! It really does apply a beautiful colour to the wood.
It's scarily dark and lumpy when you apply it, but once buffed up the colour becomes very even. Some parts do seem to take the dye better than others, so there's a little bit of a difference, but I think the finished wheel is much more even than the variation in the colour of the natural parts straight out of the box.

The resulting colour is a beautiful bronzy-brown, not too dark. I've stood the finished wheel next to one polished with clear wax as a comparison. There's quite a difference which I don't think this photograph shows. I'm very pleased.

I've seen wheels that have been finished with a dark stain, a coloured varnish or teak oil. All look good, but a good shine with clear wax does it for me.
Over time the wood darkens anyway. After even a few months, the wood is noticeably darker.
Some wax polish contains dyes which puts a little warmth and colour into your new wood. So how does it work on the natural wood of a new wheel?
To find out, this is brown Antiquax on a new Traveller wheel.

I like to use a brush to apply the wax (whether it's clear or brown). I think it might be more economical because the brush absorbs less than a cloth does. It's also easy to get into the crevices.
The first thing I notice is that it's much easier to see where you've been than with clear wax! It really does apply a beautiful colour to the wood.
It's scarily dark and lumpy when you apply it, but once buffed up the colour becomes very even. Some parts do seem to take the dye better than others, so there's a little bit of a difference, but I think the finished wheel is much more even than the variation in the colour of the natural parts straight out of the box.

The resulting colour is a beautiful bronzy-brown, not too dark. I've stood the finished wheel next to one polished with clear wax as a comparison. There's quite a difference which I don't think this photograph shows. I'm very pleased.

Antique wheel
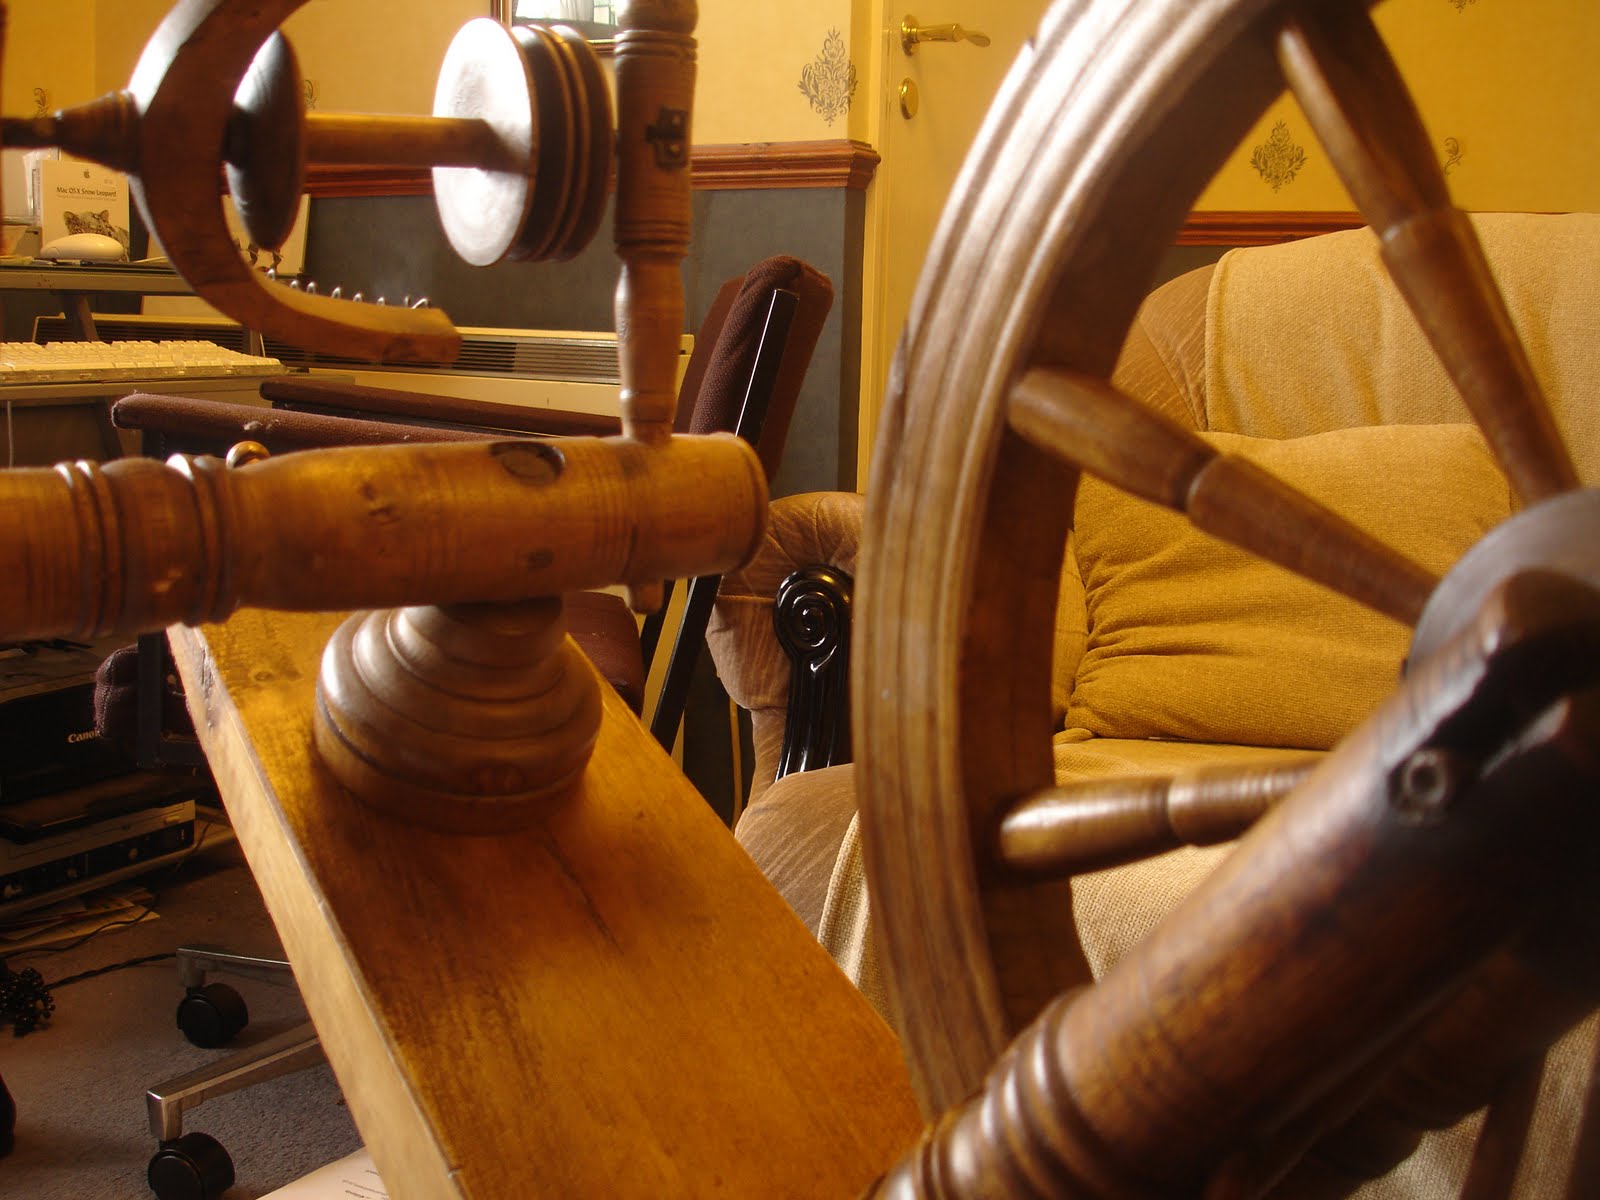
This wheel has been used as a shop window prop in a knitwear shop. The previous owner didn't know anything about it other than that it may be russian. It's certainly very old, it's beautiful and fascinating to look at.
It is usable, I've put a drive band on it and successfully spun some wool, but it's not an everyday wheel. A decorative item which could be used for fun occasionally!


It is usable, I've put a drive band on it and successfully spun some wool, but it's not an everyday wheel. A decorative item which could be used for fun occasionally!


Finished project!
This Ashford Traditional wheel came as a box of bits, minus a few bits of hardware.
It's taken some time to get hold of the right crank. At some point, Ashford moved the crank pin from the middle of the hub to the side.
The right one arrived this week and here's the complete wheel, a mature lady but in fine fettle (like me).


It's taken some time to get hold of the right crank. At some point, Ashford moved the crank pin from the middle of the hub to the side.
The right one arrived this week and here's the complete wheel, a mature lady but in fine fettle (like me).


Ideas for greetings cards

I've been enjoying knitting some miniature things to try out some greetings card ideas. It's easy to spin and knit the object and print the card in an hour or two.
The coloured pencil is a pattern from Flutterby Patch. I've knitted a couple and altered the pattern - I like working 'tip-up' and increasing rather than decreasing. I've also made it as i-cord rather than sewing it up. I'm sure if I make a few more I can get them much neater.
I knitted these things on very thin dpns - not the coctail sticks! I like the idea of including the sticks on the cards though as if the items are being knit. I especially like the idea of the pencil writing something while it's still a wip itself.
These will look a lot better when arranged and stuck down (no glue in the house and I'm not going to the shops today).
[Update] I've finally managed to get some UHU (it's behind-the-counter stuff now - I felt like a criminal buying it), stuck the bits down and replaced the photo above. They look much better.
Treadle joints - flexible and leather
I've had to replace two treadle joints this weekend, and thought that it might be a good opportunity to write about the subject with photos, because sometimes people seem unsure about which type to order.
The treadle joint on my Haldane has broken this weekend. (Why does it always happen when you eagerly sit down to start spinning?? I suppose the lesson is to always keep a spare one handy.) It's sometimes called a con-rod joint. the con-rod (connecting rod) is the long piece of wood joining the treadle to the crank.

Both the treadle and the con-rod have round holes to take this round, flexible type of joint. Thin screws go through the joint and hold it in place. On inspection, the Haldane's joint is slightly wider than the Ashford type. It was quite tricky to dig out the bottom bit because it had broken off flush with the wood! Often they break where the screw has gone through.

Fortunately, the type I keep does still fit and works a treat.

This is the very old Ashford Traditional I'm rebuilding from a box of bits. The original owner did find some of the hardware, but I have had to buy some suitable screws and I'm still waiting on the right type of crank. Its treadle joint was in place but broken. Older Ashford wheels use a different type of joint, flat and made of leather. Fortunately still readily available. Note that the con-rod and treadle bar have slots rather than holes.


With both types, be careful not to overtighten the screws, particularly with the flat type - it's possible to crack the wood.
The treadle joint on my Haldane has broken this weekend. (Why does it always happen when you eagerly sit down to start spinning?? I suppose the lesson is to always keep a spare one handy.) It's sometimes called a con-rod joint. the con-rod (connecting rod) is the long piece of wood joining the treadle to the crank.

Both the treadle and the con-rod have round holes to take this round, flexible type of joint. Thin screws go through the joint and hold it in place. On inspection, the Haldane's joint is slightly wider than the Ashford type. It was quite tricky to dig out the bottom bit because it had broken off flush with the wood! Often they break where the screw has gone through.

Fortunately, the type I keep does still fit and works a treat.

This is the very old Ashford Traditional I'm rebuilding from a box of bits. The original owner did find some of the hardware, but I have had to buy some suitable screws and I'm still waiting on the right type of crank. Its treadle joint was in place but broken. Older Ashford wheels use a different type of joint, flat and made of leather. Fortunately still readily available. Note that the con-rod and treadle bar have slots rather than holes.


With both types, be careful not to overtighten the screws, particularly with the flat type - it's possible to crack the wood.
Subscribe to:
Posts (Atom)